
By: Husam Yaghi
In a previous post, I stated that as an AI enthusiast and developer, I embarked on an exciting journey to install and fine-tune a local Large Language Model (LLM) on my Windows PC. This project, which took several weeks to perfect, was both challenging and incredibly rewarding. In this blog post, I’ll share my experience #2, hoping to help others who wish to set up their own local LLM. This time, I am setting up a local LLM in a much simpler way, using a Docker service; of course there are advantages as well as disadvantages for this approach. I will leave it to you to decide which approach suites you best.
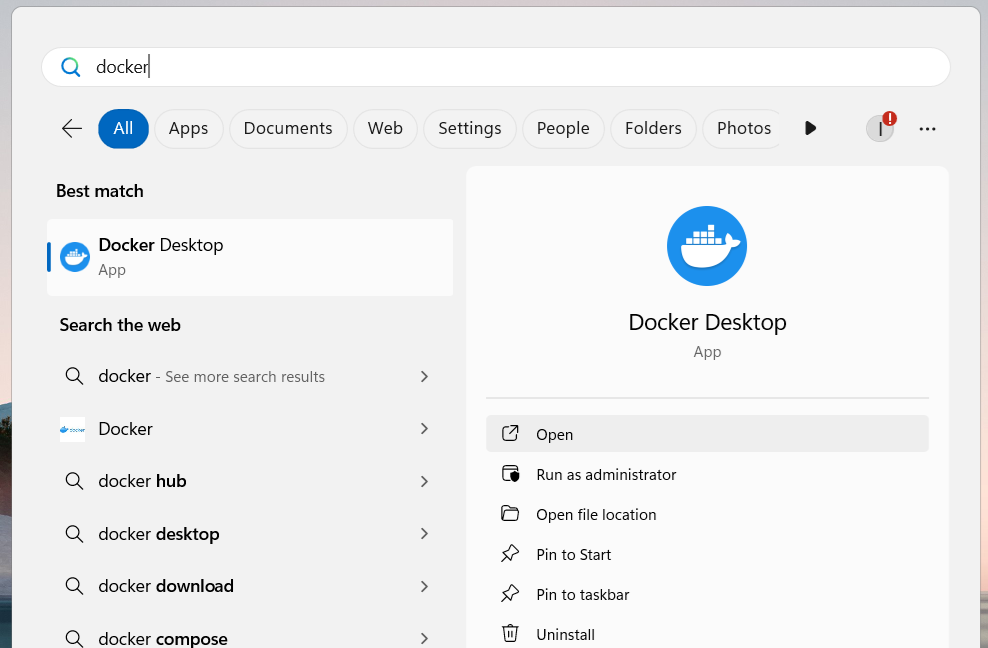
Install Docker on Windows
Go to docker.com and install the software and follow the instructions.
Once installation is complete, open a command window and type the following command:
docker run -d -p 3000:8080 –add-host=host.docker.internal:host-gateway -v open-webui:/app/backend/data –name open-webui –restart always ghcr.io/open-webui/open-webui:main
This command pulls the Open WebUI container insider Docker.
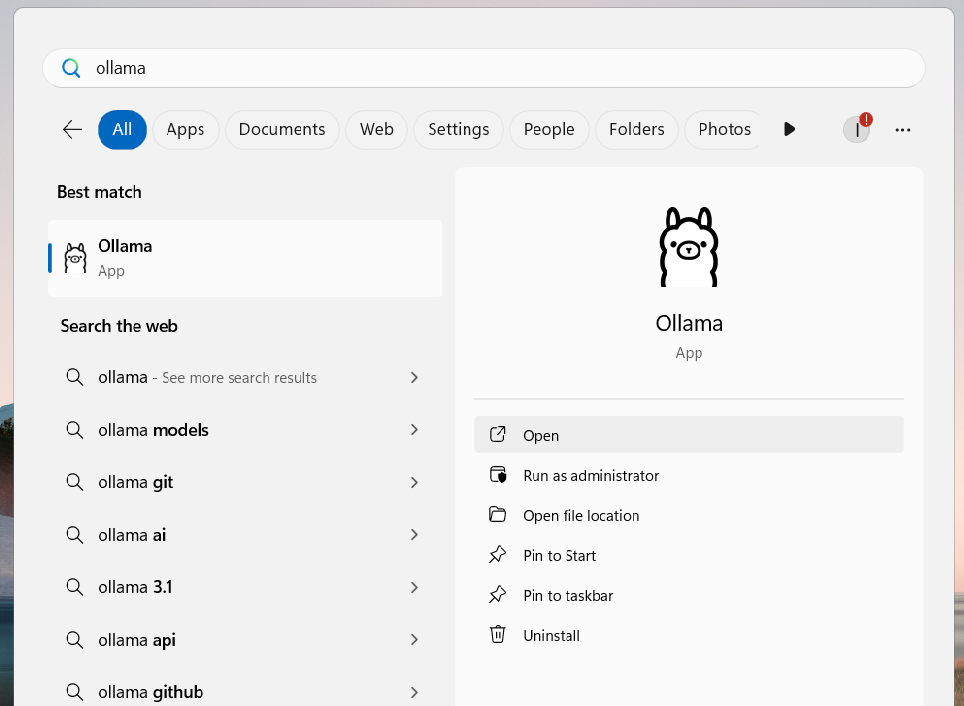
Install Ollama on Windows
- Download the installer from the Ollama website (https://ollama.com/).
- Once the installation is complete, ensure that the latest version has been installed by checking the version in the terminal:
ollama –version
- Select and install the desired LLM models:
Visit Ollama’s Library (https://ollama.com/library?sort=popular ) to view and choose models to download. Then, in the command window, run the following command to pull the model of your choice (i.e. mistral 7b):
ollama pull mistral:7b
Step 3: Use Open WebUI
Useful link: https://docs.openwebui.com/getting-started/
- When Open WebUI has been installed as a container, you can click on the link under ‘Port’.
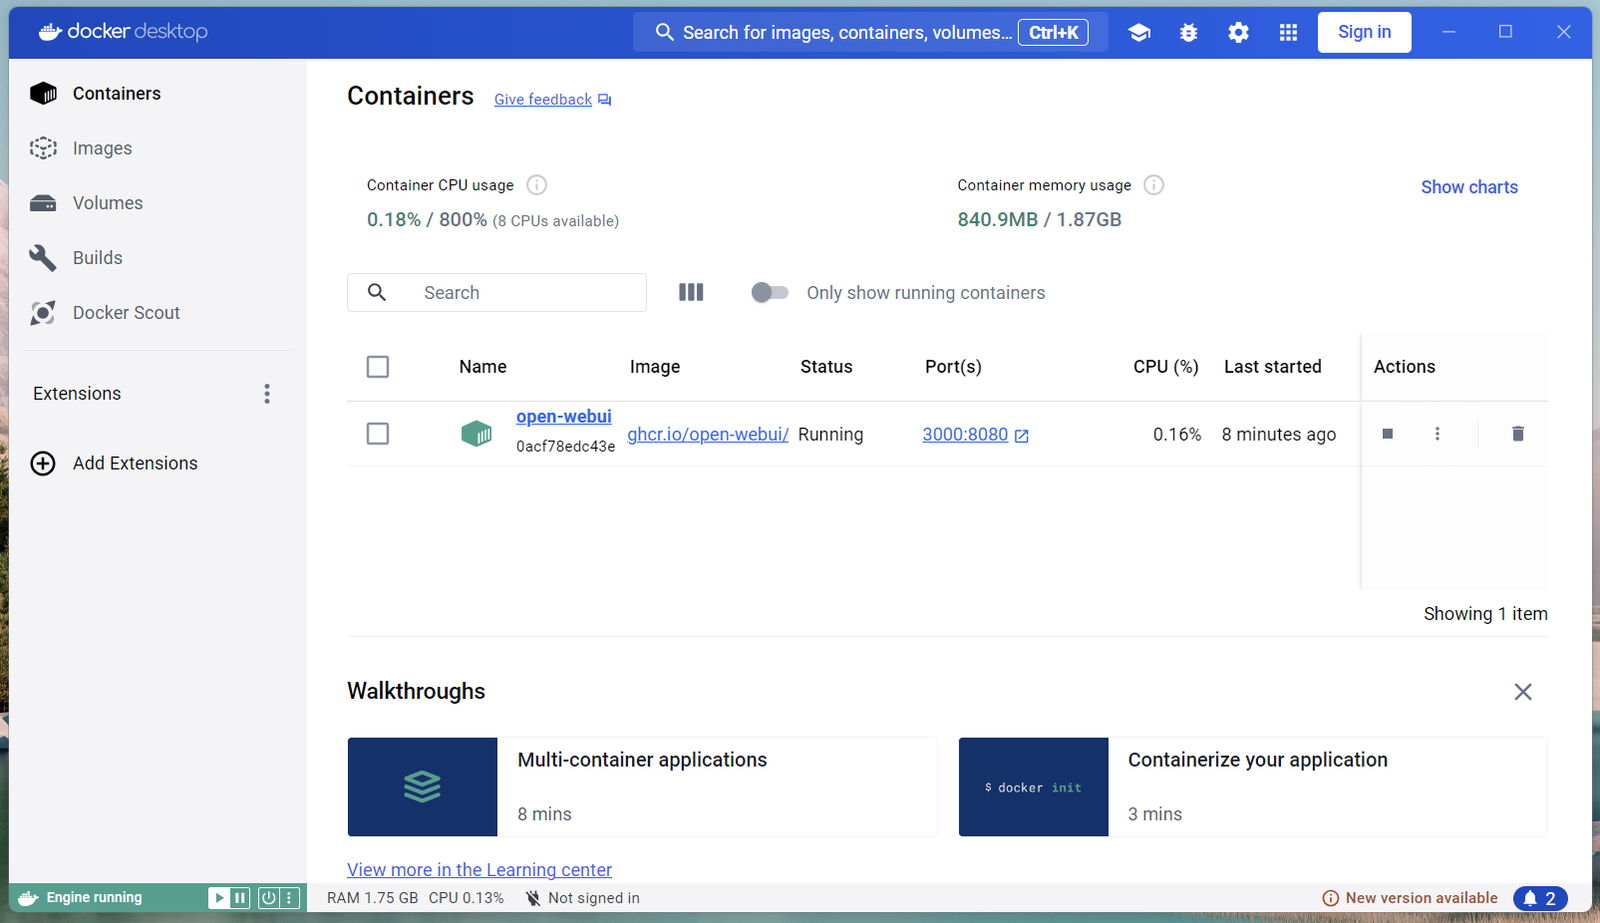
- Alternatively, you can access Open WebUI by typing http://localhost:3000 in your browser directly.
- If an account has not been created, you will be prompted to make a new account.
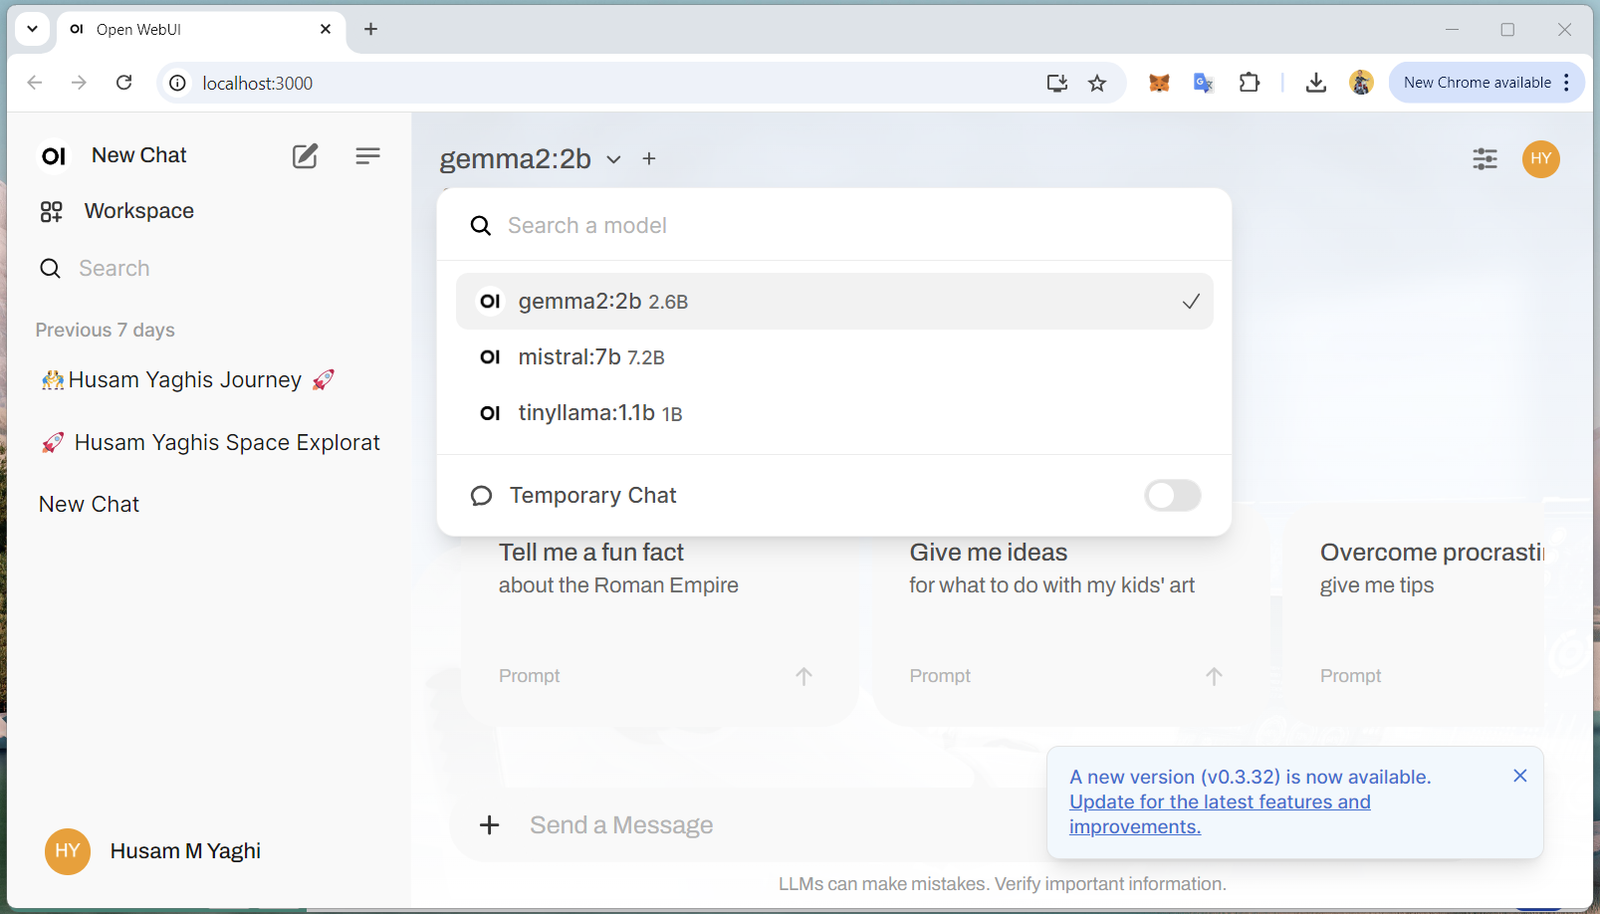
- Select a model: Click on “Select a Model” on the top to choose from your pulled LLMs.
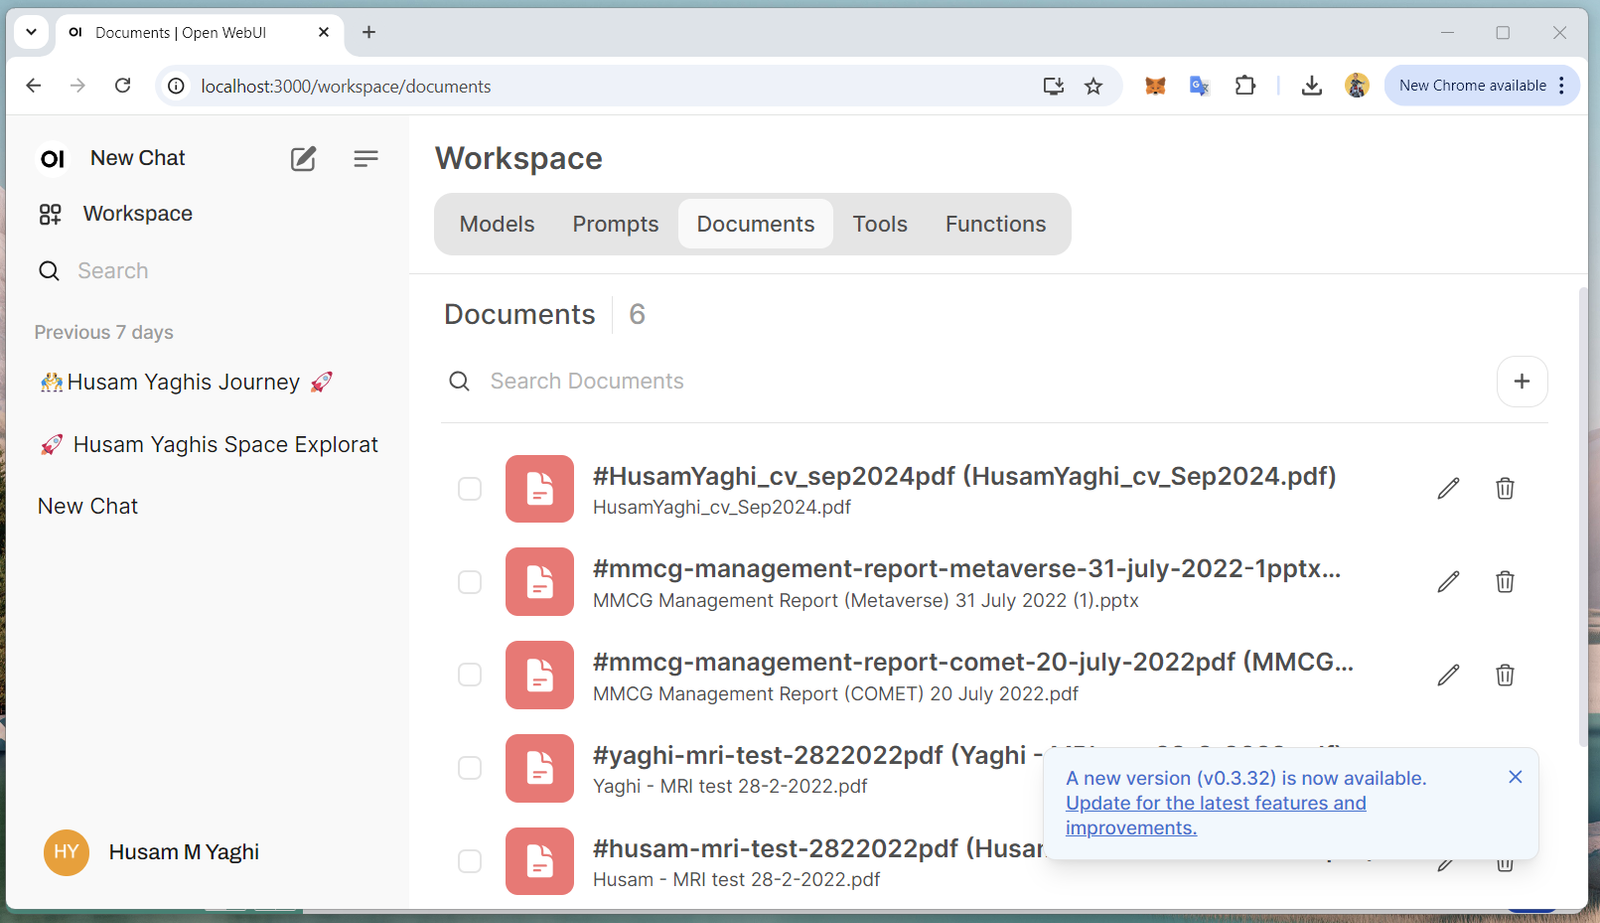
- Upload documents (your dataset) to Open WebUI: Click on Workspace > Documents > ‘+’ to add documents.
I recommend adding tags that mention the key topics of the document.
- Toggle ‘ON’ for web search:
Click on your account at the bottom left of the screen
> Settings > Admin Settings > Web Search.
I recommend using duckduckgo for the web search engine.
Once you’ve done this, press ‘SAVE’ and go back to your chat by clicking ‘New Chat’ in the top left corner. When you’re in this screen, click the More button ‘+’ to turn on Web Search for your chat.
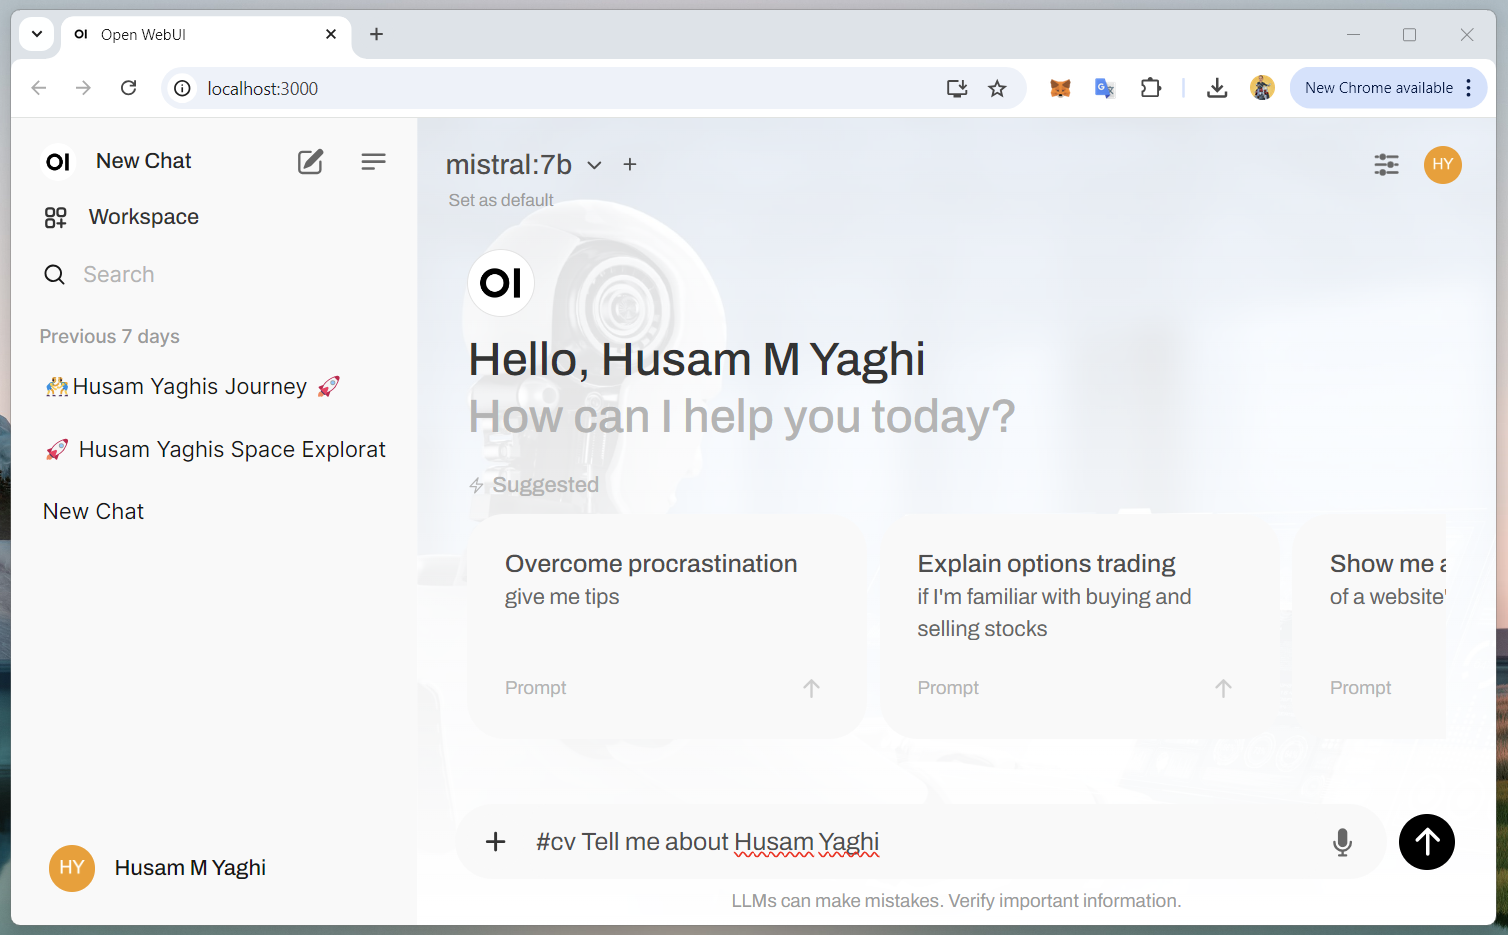
- Referencing specific files when chatting with LLMs:
Use the ‘#’ in the chat bar to select ‘All Documents’ or specific collections to have the model answer queries using your uploaded files. This is where tags come in handy.
Manually updating Open WebUI
As you’ve installed Open WebUI using Docker Compose, follow these steps to update:
- Pull the latest images:
This command fetches the latest versions of the images specified in your docker-compose.yml files.
docker compose pull
- Recreate the Containers with the latest images:
This command recreates the containers based on the newly pulled images, ensuring your installation is up-to-date. No build step is required for updates.
docker compose up -d
This method ensures your Docker Compose-based installation of Open WebUI (and any associated services, like Ollama) is updated efficiently and without the need for manual container management.
Additional information to note
- When installing Open WebUI through Docker, there are different options based on if you have GPU support (Nvidia or AMD), Linux, CPU only. Learn more here.
- In order to run Open WebUI on the browser, you need to keep Docker and Ollama running. They can run in the background, but both have to be running.
- Unless you opt to search the web, your local LLM on Open WebUI does not require Internet connection.
Link the local dataset to Docker.
Create a dockerfile:
Using an available simple editor, create a dockerfile with the following content:
# Use an official Ubuntu as the base image FROM ubuntu:latest # Set the working directory inside the container WORKDIR /app # Copy the contents of your local dataset to /app inside the container COPY . /app # Install any dependencies (if needed) RUN apt-get update && apt-get install -y python3 python3-pip # Default command to run when the container starts CMD ["bash"]
and save as “dockerfile” without an extension it in a reachable location (in my case: d:\docker), then change directory to that location.
cd d:\docker
then on a command prompt type:
docker build -t yaghidataset -f d:\docker\dockerfile .
This command explicitly tells Docker to use the Dockerfile located at d:\docker\dockerfile.
Verify the Image Was Built Successfully
After the build completes, verify that the image was created by listing all available images:
docker images
You should see your newly built image in the list, with the REPOSITORY name as yaghidataset (or whatever name you used in the -t flag during the build).
REPOSITORY TAG IMAGE ID CREATED SIZE
yaghidataset latest <IMAGE_ID> <time_created> <image_size>
Run a Container Using the Image
Now that your image has been built, you can create and run a container based on this image. You use the docker run command to do this. For example, if you want to run a container using the yaghidataset image, you would run:
docker run -it yaghidataset
- -it: This flag allows you to run the container interactively with a terminal attached (useful if you want to interact with the container, e.g., using a shell).
- yaghidataset: This is the name of the image that you built earlier.
If your Dockerfile specifies a command like CMD [“bash”], this will provide you with a terminal inside the running container.
Mount a Local Directory (Optional)
If you want to mount a directory from your host machine (e.g., D:\yaghiDataSet) into the running container, use the -v flag to specify the volume mapping:
docker run -it -v /d/yaghiDataSet:/data yaghidataset
This command will:
- Mount the D:\yaghiDataSet directory from your local machine to /data inside the container.
- Start the container interactively with a terminal.
Once the container is running, you can navigate to the /data directory inside the container to see the mounted files:
cd /data
ls
Run a Background Container (Optional)
If your container is meant to run in the background (e.g., a web server or another service), you can use the -d flag to run the container in detached mode:
docker run -d yaghidataset
This will start the container in the background, and it will continue to run until stopped.
Check Running Containers
You can check the status of your running containers with:
docker ps
This will list all running containers. If you want to see all containers (including stopped ones), use:
docker ps -a
Stop a Running Container
If you need to stop a running container, use the docker stop command, followed by the container ID or name:
docker stop <container_id_or_name>
To get the container ID or name, you can use docker ps to list running containers.
docker ps
Once the docker build command completes successfully, you’ve built a Docker image that can be used to run containers. The next step depends on what you want to do with the image, but typically, you will want to run a container using the image you just built.
Remove a Container
If you want to remove a container after you stop it, use:
docker rm <container_id_or_name>
Tag and Push the Image to a Registry (Optional)
If you want to share your image with others or deploy it to a production environment, you can tag the image and push it to a Docker registry (such as Docker Hub, AWS ECR, or a private registry).
- Tag the image (if you want to use a different tag or push to a specific registry):
docker tag yaghidataset username/repository:tag
For example, to tag it for Docker Hub:
docker tag yaghidataset your-dockerhub-username/yaghidataset:latest
Log in to Docker Hub (or another registry):
docker login
Push the image:
docker push your-dockerhub-username/yaghidataset:latest
This will upload your image to Docker Hub, where it can be pulled or shared with others.
Inspect the Image (Optional)
You can use the docker inspect command to get detailed information about the image you built:
docker inspect yaghidataset
This will display details about the image, including metadata, layers, and configuration.
Summary of What to Do After the Build:
- Check the image: Use docker images to verify the image was built.
- Run a container: Use docker run -it yaghidataset to start an interactive container.
- Optionally, mount a local directory using -v (e.g., docker run -it -v /d/yaghiDataSet:/data yaghidataset).
- Background container: Use docker run -d yaghidataset to run the container in detached mode.
- Check running containers: Use docker ps to see running containers.
- Stop a container: Use docker stop <container_id_or_name> to stop a running container.
- Remove a container: Use docker rm <container_id_or_name> to remove a stopped container.
- Push the image: Optionally, tag and push your image to a Docker registry.
Reminder:
In order to use your LLMs, you must have both applications are running:
- Ollama
- Docker
From your Windows “Start”, run both of these applications.
Let me know if you find these posts of value. hyaghi at gmail.com